Lesson Plan | Ed Paschke: Torn Paper Portrait Collages – MMoCA
Subjects
Visual Art, Language Arts, Social Studies
Author
Kristine Gruninger, art educator
Essential Questions
- How do artists work?
- How can the viewer “read” a work of art?
Grade Level
4
Objectives
- Students will use torn paper to create a portrait and background using the collage technique, explore contrast through use of color and composition, and learn about a popular culture, or Pop, icon. Students will learn about the expressive and colorful style of portraiture exemplified in Ed Paschke’s work.
Activity
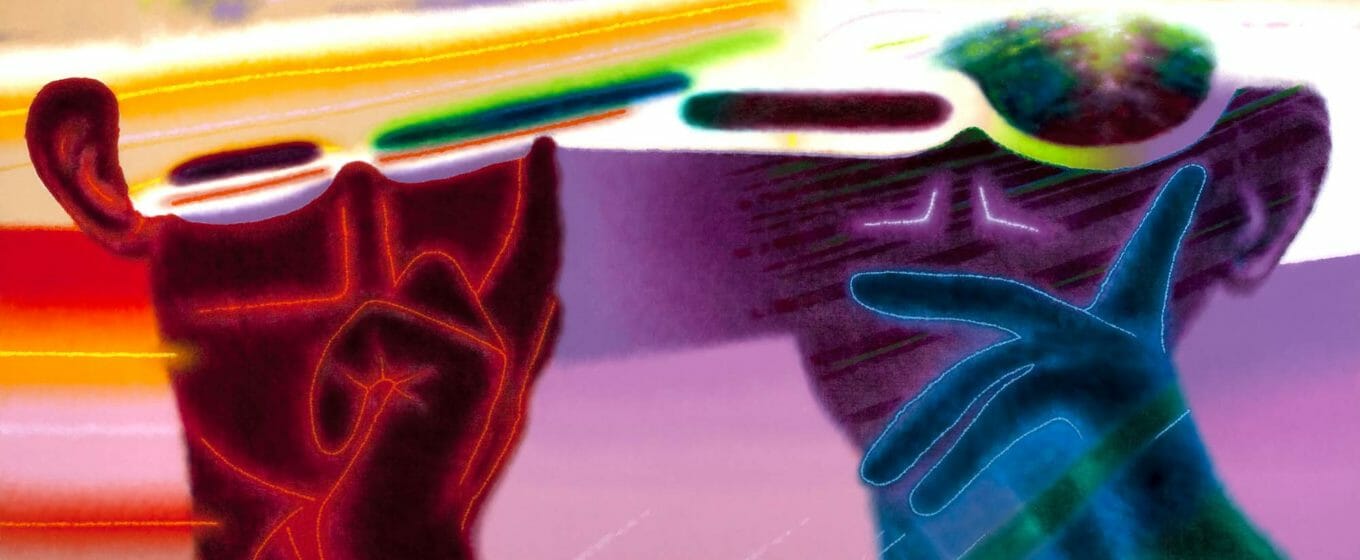
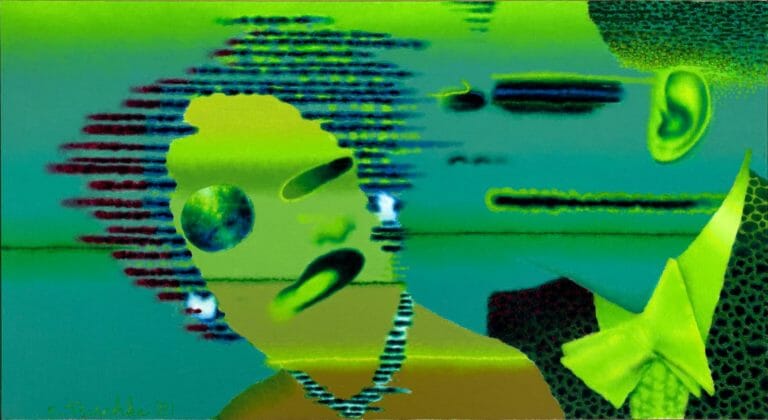
Introduce the paintings of Ed Paschke, specifically Prothesian, and referencing La Chanteuse. Paschke enjoyed making portraits of Pop icons—popular culture celebrities—as well as anonymous characters and well-known figures from politics and mythology. He loved technology and televised media, particularly the interference and distortions that occur when a signal is interrupted. He maintained a collection of images from print media and film that he referenced for source material and inspiration.
Discussion Questions
- Are the people in this portrait pop icons or anonymous characters? How have you determined this?
- What have you noticed in the image? How would you describe the colors, lines, shapes, facial expressions?
- What color choices did Ed Paschke make? How did he use color, for example, placing light next to dark colors, or cool next to warm ones?
- How does he show his interest in media and technology?
- Why do you think Ed Paschke chose to portray his characters wearing sunglasses?
- What might he be asking us to think about or feel?
- Could there be a story here? If so, what plot, drama, or sequence of events might be taking place?
Instructions
Part 1: Head and Shoulders
Materials
Various colors of 12 x 18-inch sheets of construction paper, florescent colored papers, glue sticks
On a 12 x 18 sheet of paper, demonstrate using a contour line to draw a head and shoulders. Draw a line for the chin extending from one side of the neck to the other. Facial features will be added later.
Cut out the head and shoulders. Then cut on the line for the chin to separate them. Set shoulders aside for later.
To start the collage
Take several sheets of florescent colored paper and tear out a few pieces. Arrange these on the head. Leave a bit of space between the pieces so you can see the color of the paper underneath, or overlap them. Allow the outside edges of the pieces to hang off the edge of the head. This extra material can be trimmed later.
Glue pieces to the head. Trim off the excess.
Create an expression for your portrait by using scraps to cut shapes for the nose, mouth and ears. Glue to the head.
Create the sunglasses shape. Sunglass lenses will be completed later.
Part 2: Shoulders and Sunglass Lenses
Materials
9 x 12-inch sheets of various colors of construction paper, plates of florescent paints, 6-inch pieces of yarn (one for each color of paint the student uses), paint brushes
To emulate electronic static lines, as in Prothesian and La Chanteuse, students will fill a 9 x 12-inch piece of paper with yarn-printed lines. Dip a piece of yarn in florescent paint. Lay it down in a line on the paper. Use the handle of the paint brush to push the yarn into the paint or to help guide the yarn if needed. For each new color of paint, use a new piece of yarn. Continue this process until the paper is full of lines. Let dry.
Get the previously cut-out shoulders to use as a template. Choose a place on the paper with the printed lines, which are now dry. Lay down the template, trace and cut out. Set aside.
Cut out sunglass lenses and glue down to complete sunglasses. Students may use scraps of paper if they choose. Set aside.
Part 3: Background
Materials
9 x 12- and 12 x 18-inch white sulphite paper, various colors of art tissue paper (bleeding), large paint brush or foam brush, water cup
The 12 x 18-inch sheet of sulphite paper will be the main background paper. Brush water over a portion of it at a time and lay a cut piece of art tissue over the wet spot. Then brush water over the tissue so it lays down flat on the white paper. Continue until the entire paper has been covered with the tissue. Use colors from one color family.
Repeat the process on the 9 x 12-inch paper using colors from a different color family. This piece will be used to add to the 12 x 18 piece. Set both papers aside to dry.
Part 4: Assemble
When the tissue is dry, remove it and throw it away. Place both background pieces at work space. Continuing the collage technique, cut or tear the 9 x 12-inch paper into strips, blocks, or pieces and arrange on the 12 x 18-inch background. Adhere with glue when satisfied with the arrangement of pieces.
Arrange the portrait pieces on the background and adhere with glue.
Optional: As a finishing step, students who finish early can add any final lines or marks by using paper strips, oil pastels, painted lines, or 3-D paint.
Closing Discussion
- Do the lines in your artwork resemble neon lights or the lines of static on television?
- Is there a story to your portrait?
Adaptations
Adapt this activity for older students by having them search the internet for images of Pop icons to use as a source for their portrait. See Ed Paschke’s portraits of such figures as Elvis Presley, Marilyn Monroe, and Abraham Lincoln.
Materials
Drawing paper, pencils, erasers, black Sharpie markers, tracing paper, acrylic paints, brushes, palettes, water cups, paper toweling, transparency film, construction paper or mat board, corrugated cardboard, cut into ½-inch strips, glue, clear tape, sample of Plexiglas
Vocabulary
Chicago Imagist, Plexiglas, foreground, middle ground, background, overlapping, placement, scale, space
Extensions
Language Arts, Social Studies
Standards
National Core Arts Standards
VA:Cr1.1.4, VA:Cr2.1.4 / VA:Re8.1.4
Common Core State Standards
English and Language Arts: CCSS.ELA-LITERACY.SL.4.1.C, CCSS.ELA-LITERACY.SL.4.2, CCSS.ELA-LITERACY.SL.4.5
Wisconsin State Standards
Social Studies: E.4.10

